Installation of Keras library in Anaconda
In this page, we will learn How to installation Keras library in Anaconda step by step?, How to Download Anaconda, Install Anaconda Python, Create Environment, and how to install pandas, matplotlib, spyder, jupyter in anaconda.
How to installation Keras library in Anaconda step by step?
You will require Anaconda Distribution, which is supported by Continuum Analytics, in order to install Keras. Python and R have platforms provided by Anaconda, an open-source and cost-free distribution. It is platform-independent, so depending on the needs of the user, it may be installed on any operating system, including MAC OS, Windows, and Linux. It has developed more than 1500 Python/R packages that are essential for creating deep learning and machine learning models.
It offers a simple Python installation together with a variety of IDEs, including Spyder, Anaconda prompt, Jupyter Notebook, and others. In order to give its users as much ease as possible, it will automatically install Python after installation, together with some of its fundamental IDEs and libraries.
The steps that demonstrate how to install Keras are as follows:
Step1: How to Download Anaconda
You can either open your preferred browser and type "Download Anaconda Python" into the search bar, or you can just click the link provided below to download Anaconda.
https://www.anaconda.com/distribution/#download-section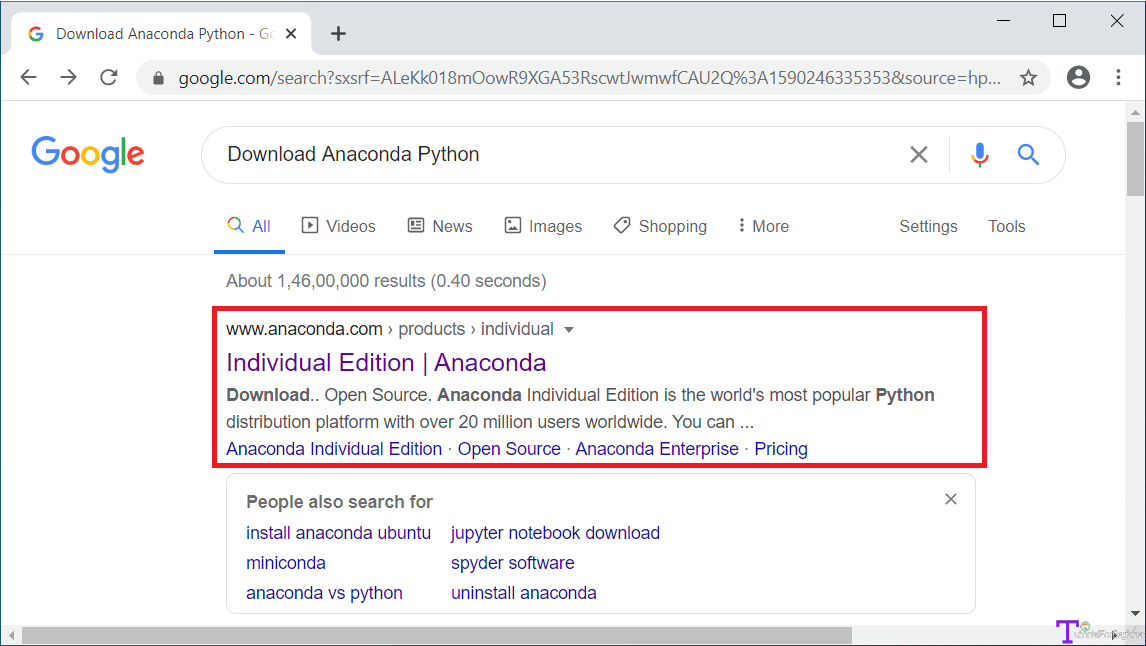
You will be taken to the Anaconda download page if you click the first link, as seen below:
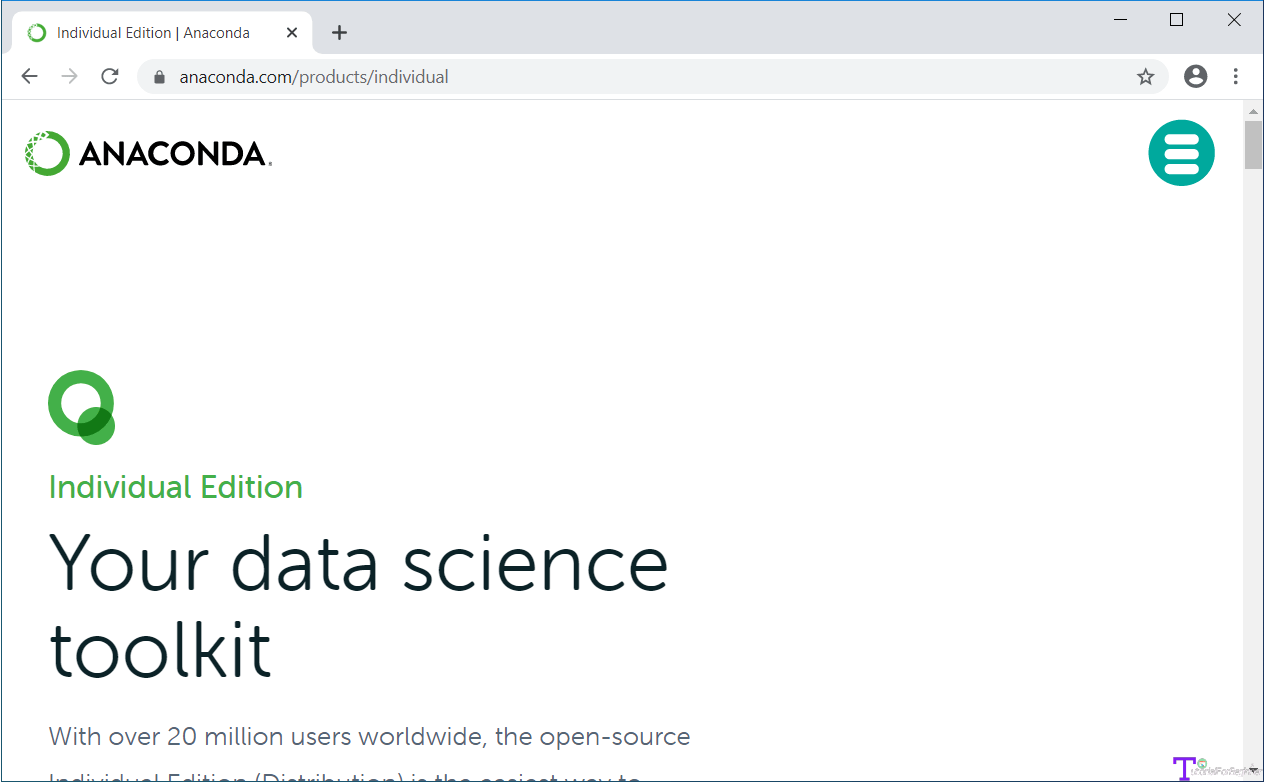
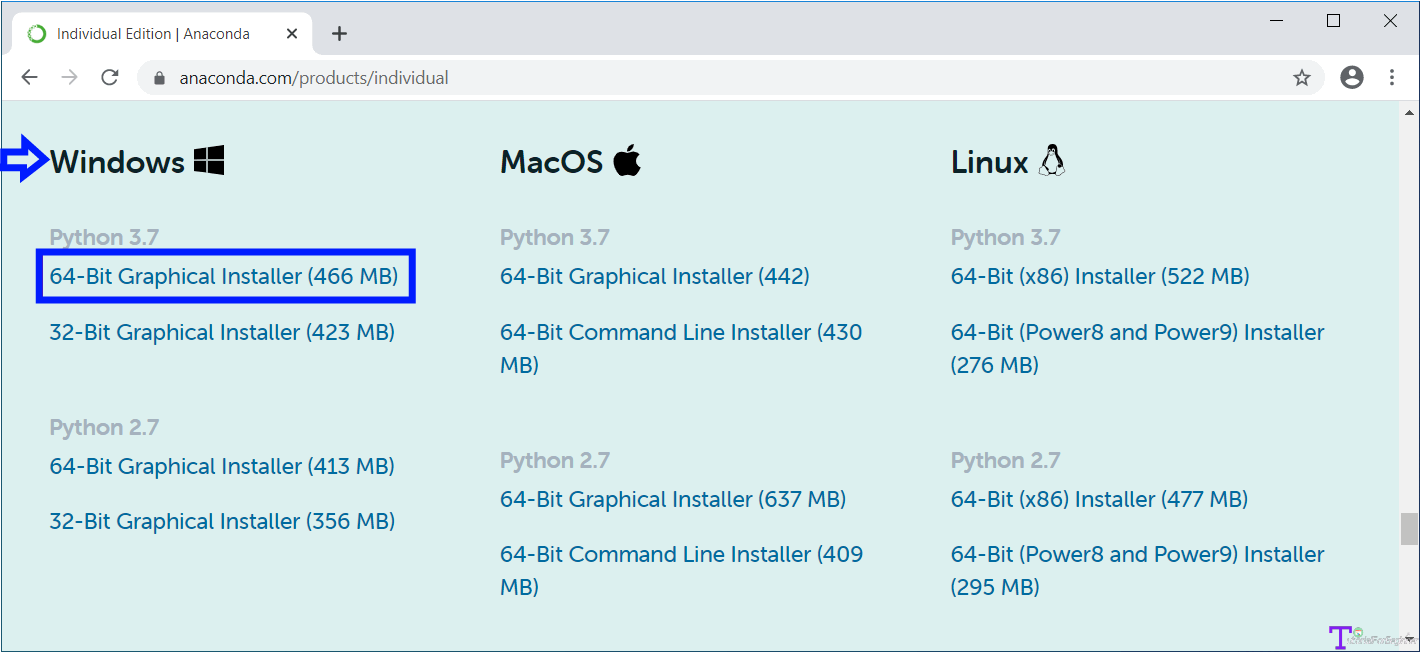
You'll see that Anaconda is compatible with a number of operating systems, including Windows, MAC OS, and Linux. You can download it by selecting one of the choices according to your OS. You can choose between Python 2.7 and Python 3.7. Python 3.7 is the most recent version, so click the download button to get it. Following your selection of the download choice, the downloading will begin automatically.
Step2: Install Anaconda Python
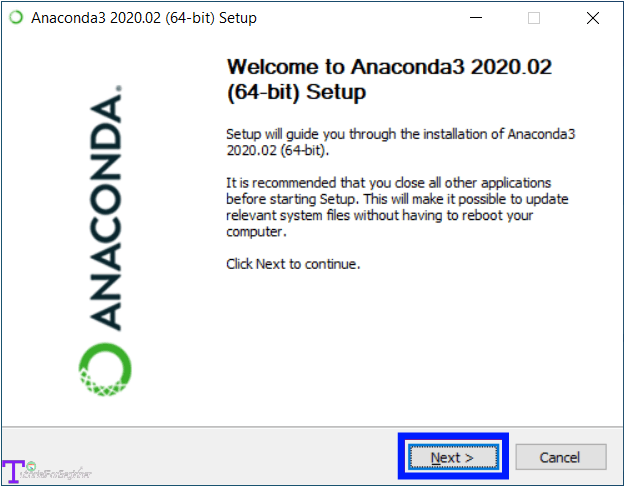
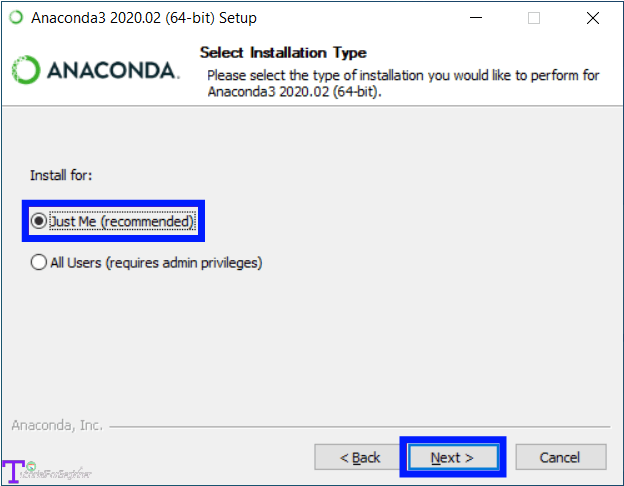
Go to the downloaded folder and click on the Anaconda's .exe file (Anaconda3-2019.03-Windows-x86 64.exe) after the download is complete. The setup box for the Anaconda installation will open, and you must select Next as seen below:
To continue with the installation, click I Agree in the License Agreement window that appears after selecting Next.

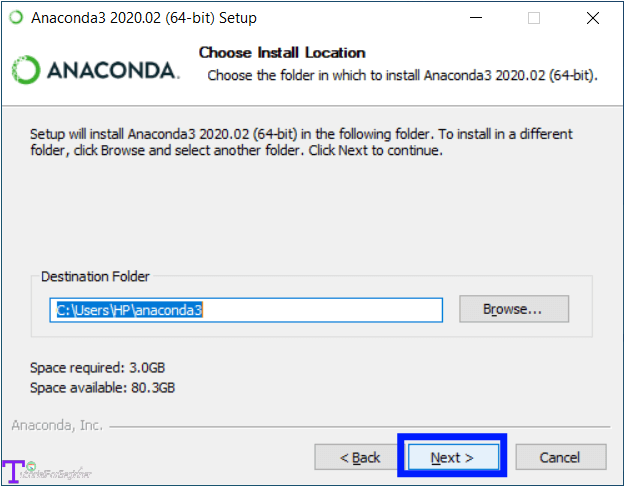
Following that, you will be taken to a box where you will be asked where the installation will take place. You can choose to leave it as the default location or change it by browsing to a location and then clicking on Next, as demonstrated below:
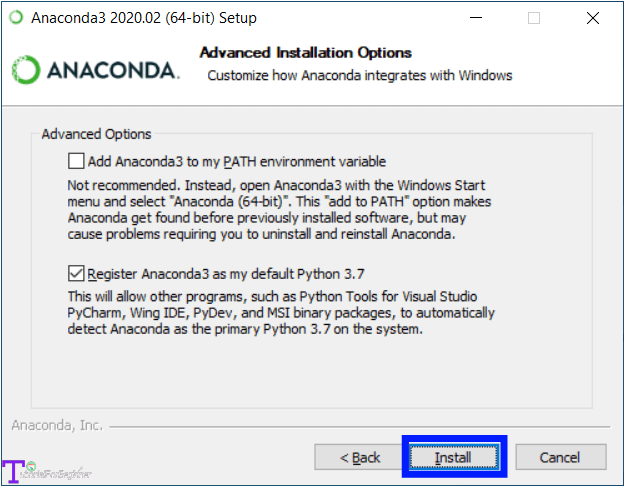
Click on Install.
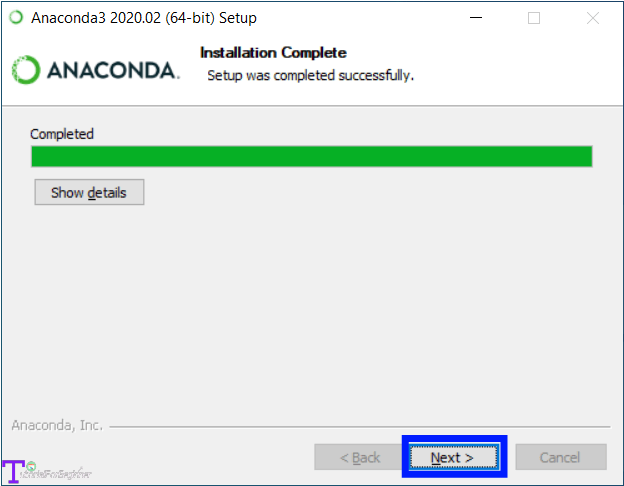
Click Next once the installation is complete.
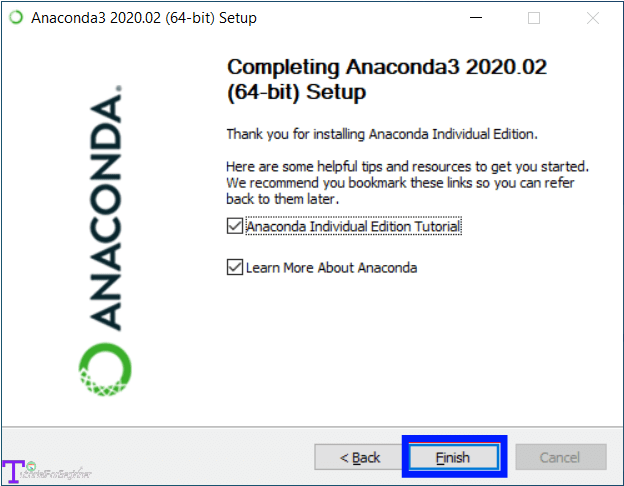
After the installation is finished, click Finish to finish the process.
Step3: Create Environment
You must now construct a new CONDA environment where all of your modules will be installed in order to build your models when you have finished installing Anaconda.
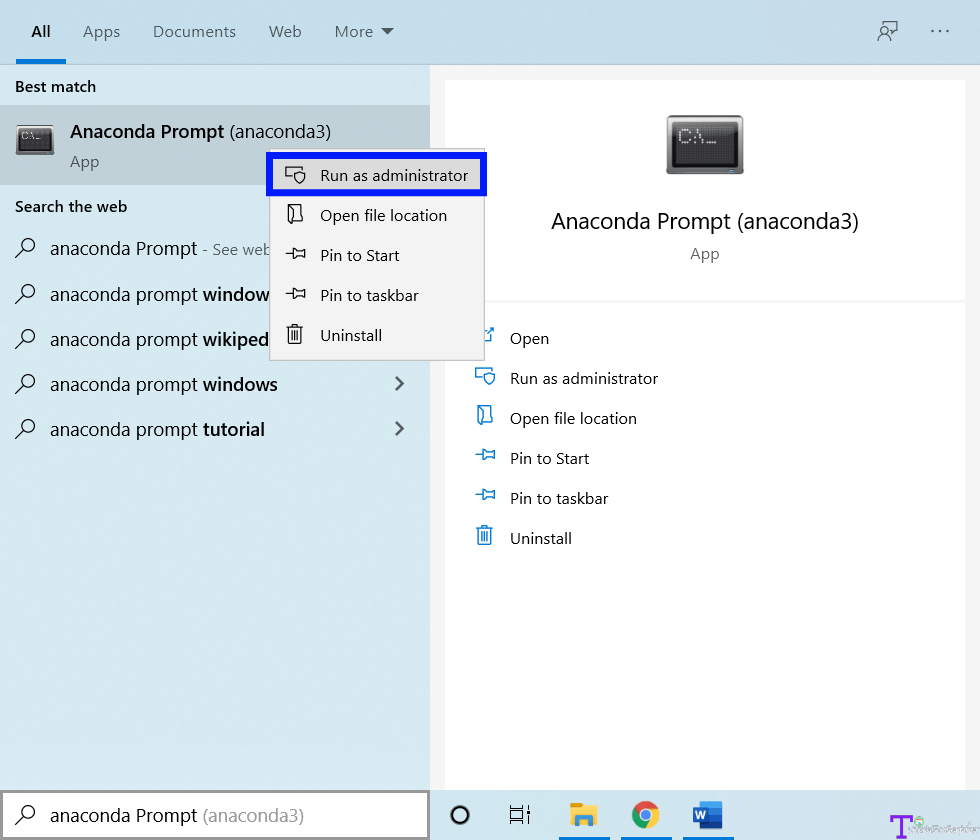
By typing "Anaconda prompt" into the search box, clicking right on it, and choosing the first option, "Run as administrator", you can launch Anaconda prompt as an administrator.
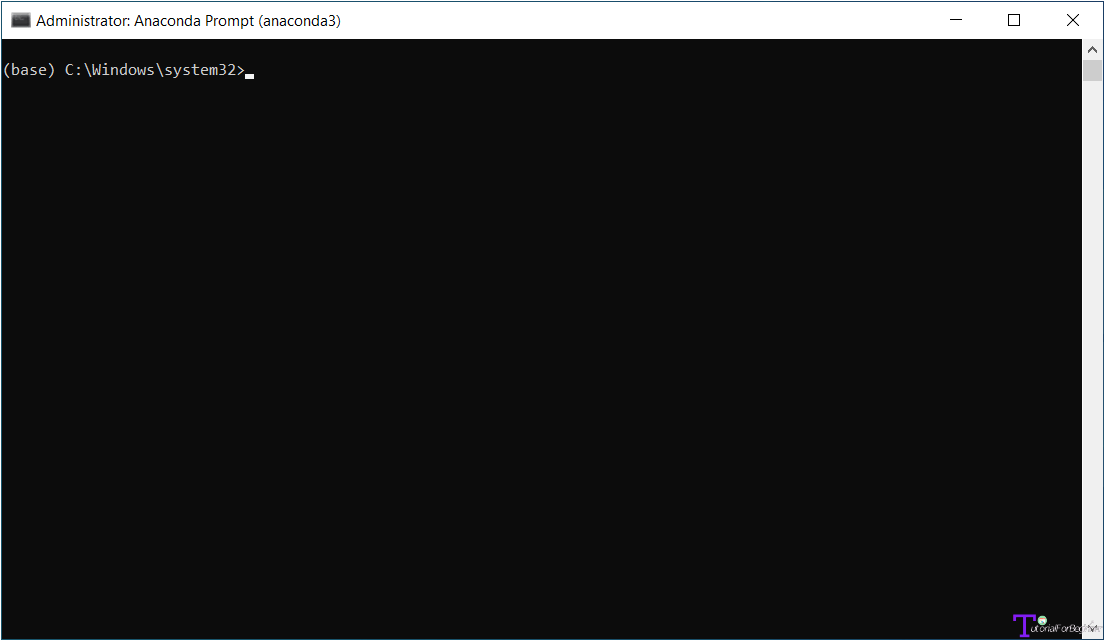
Your anaconda prompt will open after you click on it and will appear like the illustration below.
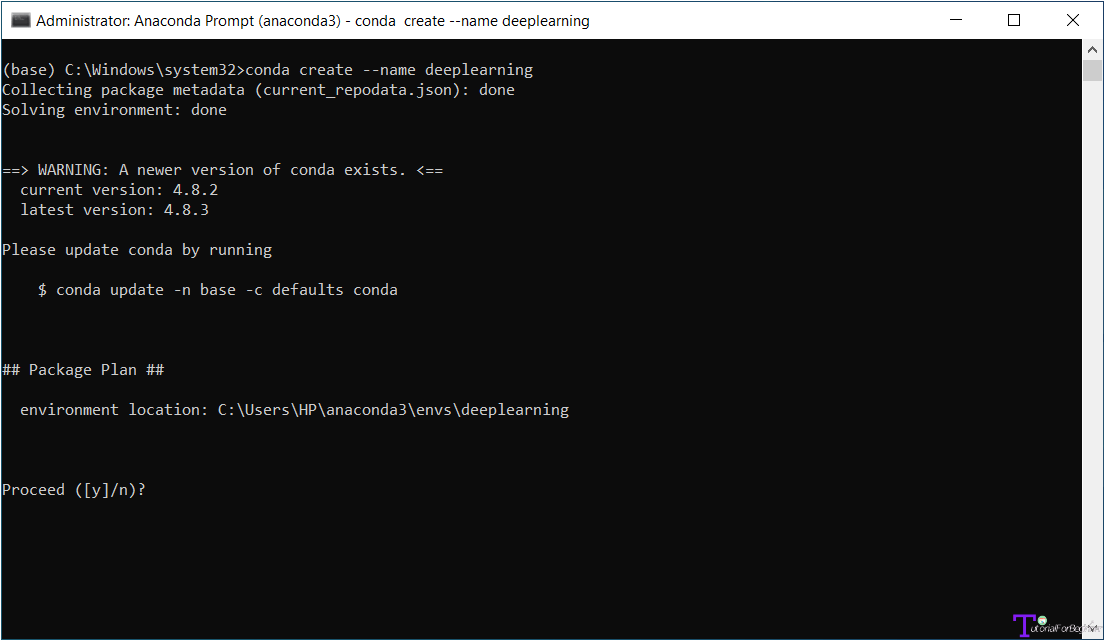
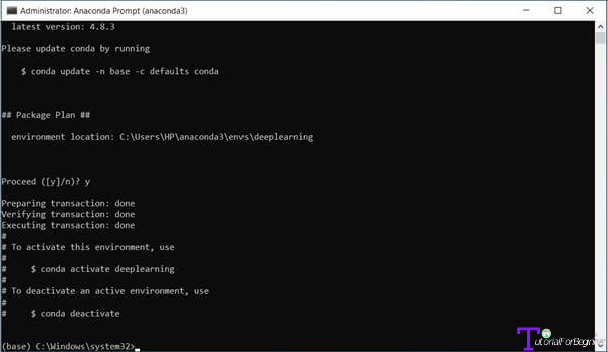
You must then establish an environment. This requires you to enter the following command after writing it on the Anaconda prompt. Although deeplearning refers to the environment's name in this case, you can write anything you choose.
| conda create --name deeplearning |
You can see from the screenshot above that it asks you for the package plan environment location; simply select Y and then press Enter.
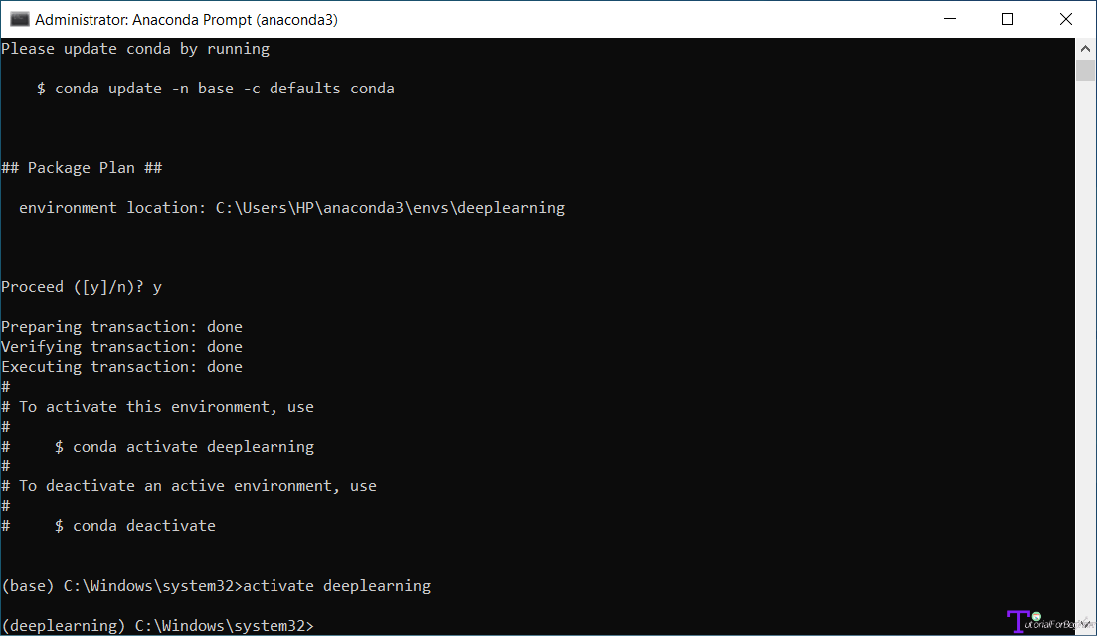
Therefore, it is clear from the graphic above that you were successful in creating an environment. The environment you earlier established has to be activated as the following action. Write the following to activate the environment:
| activate deeplearning |
You can see that you are in this setting from the image up above.
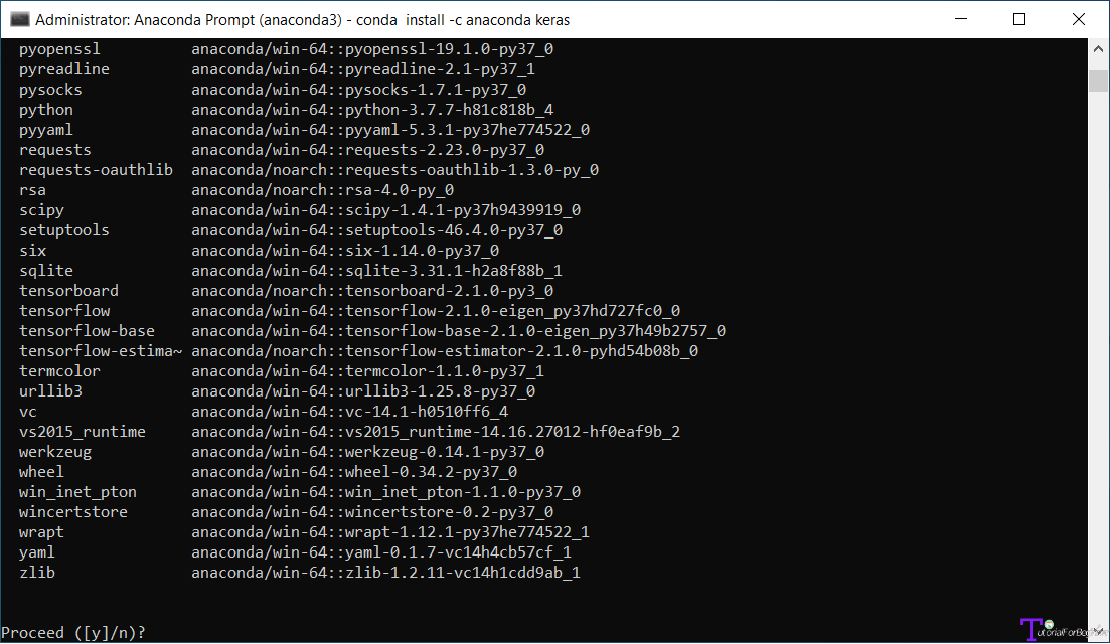
The next step is to install Keras, which you can do quickly by using the command listed below.
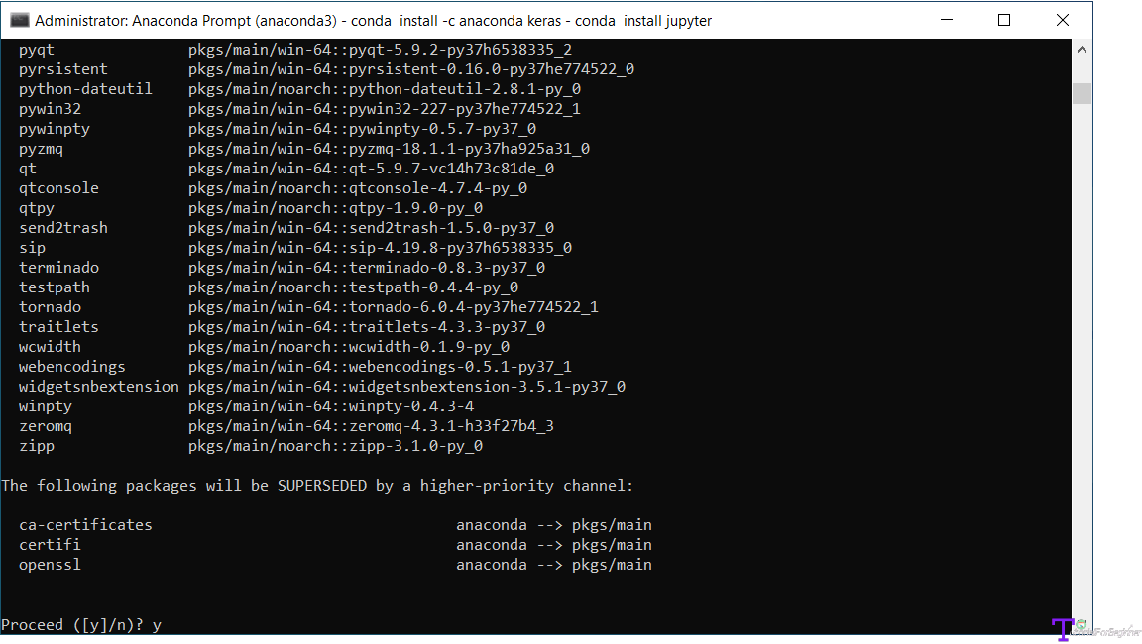
| conda install -c anaconda keras |
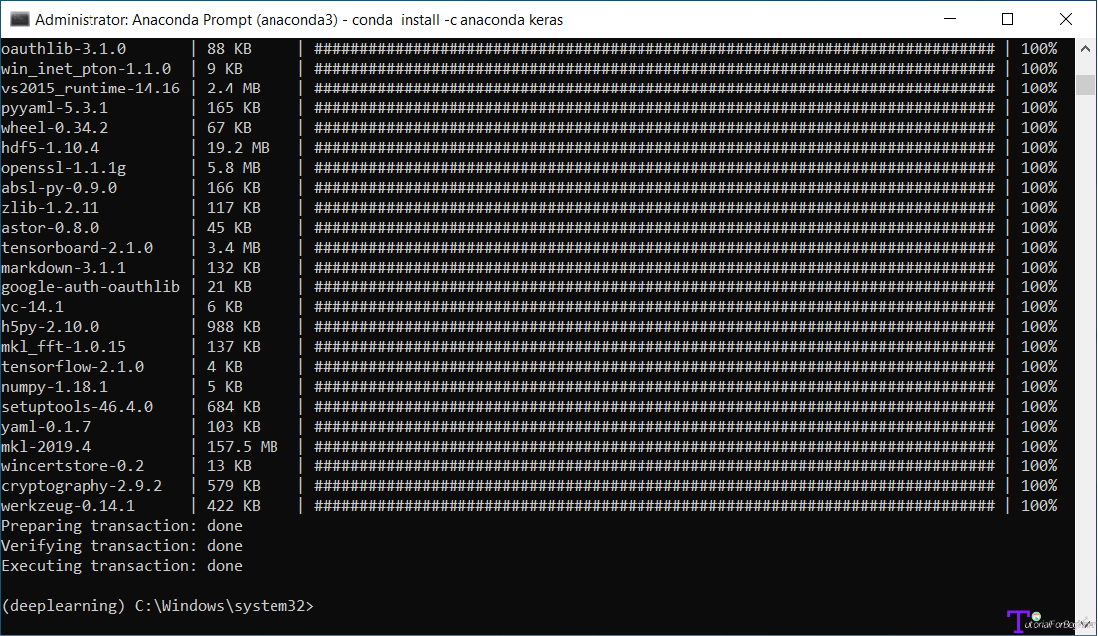
As you can see, it is requesting that you install the aforementioned packages, so press y to continue.
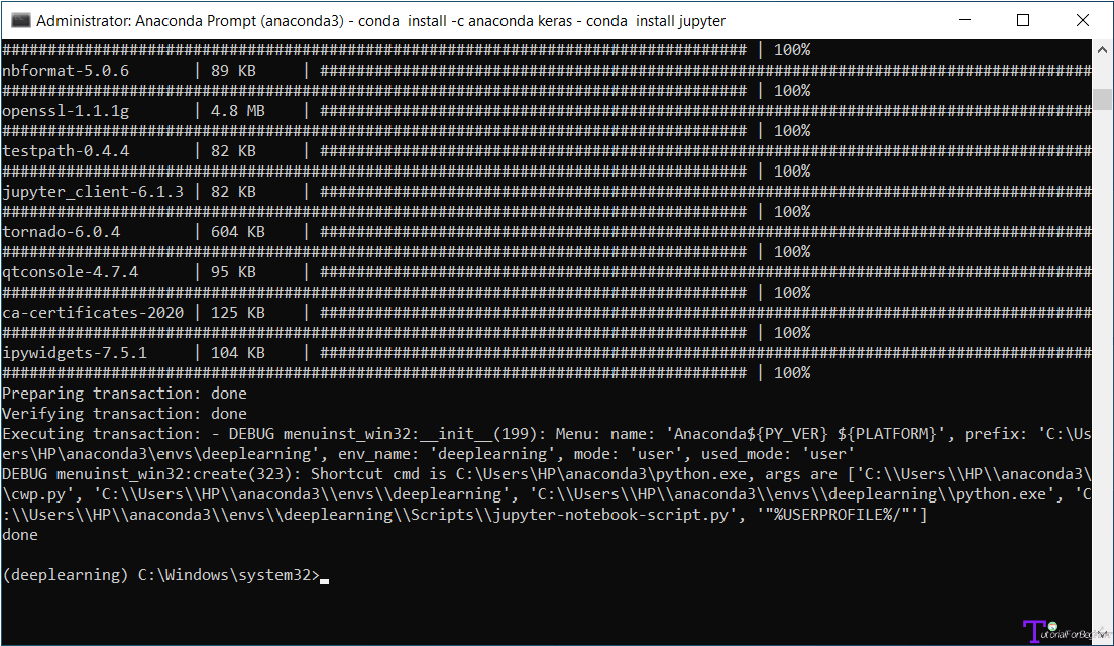
You can see from the image above that the installation was successful.
You must perform a few installations once again because this is a new environment in order to prevent errors: An error message: ModuleNotFoundError: No module named 'keras' was found while importing Keras."
Due to the fact that Jupyter and Spyder are not preinstalled when you establish an environment, you must run two of the most crucial tasks.
You should first run the jupyter command, which is as follows:
| conda install jupyter |
When prompted to install the following packages once more, simply type y to continue.
It has been deployed successfully, as you can see in the picture up top.
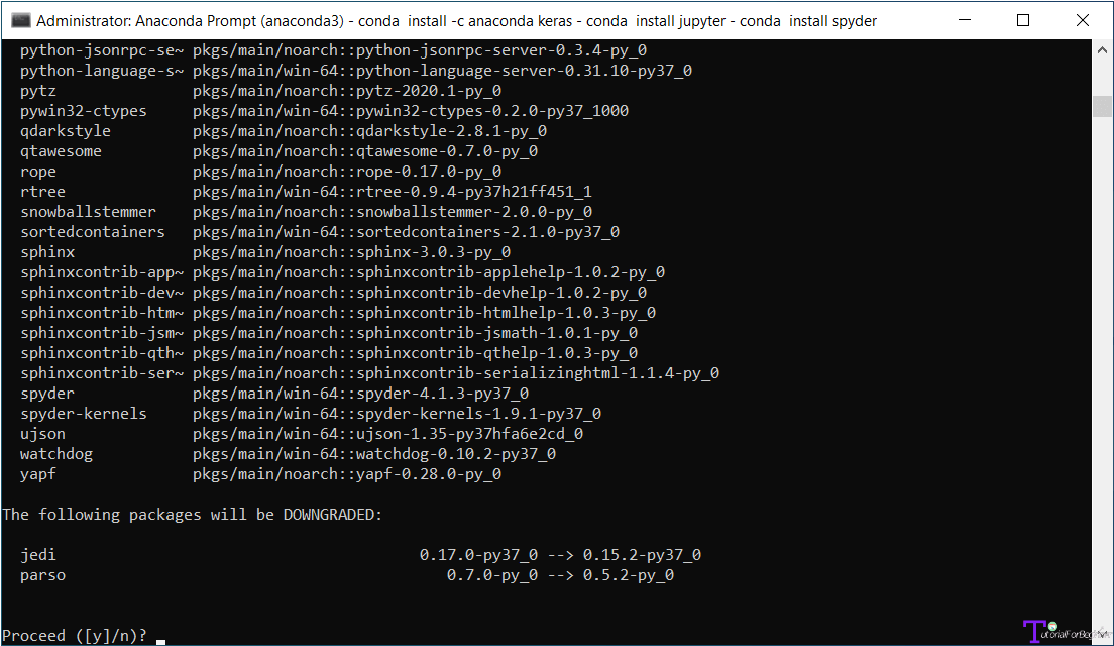
Then you will follow suit with spyder.
| conda install spyder |
Since this is your first time, it will once again prompt you for a y or n response. You can just continue by clicking y as you did previously.
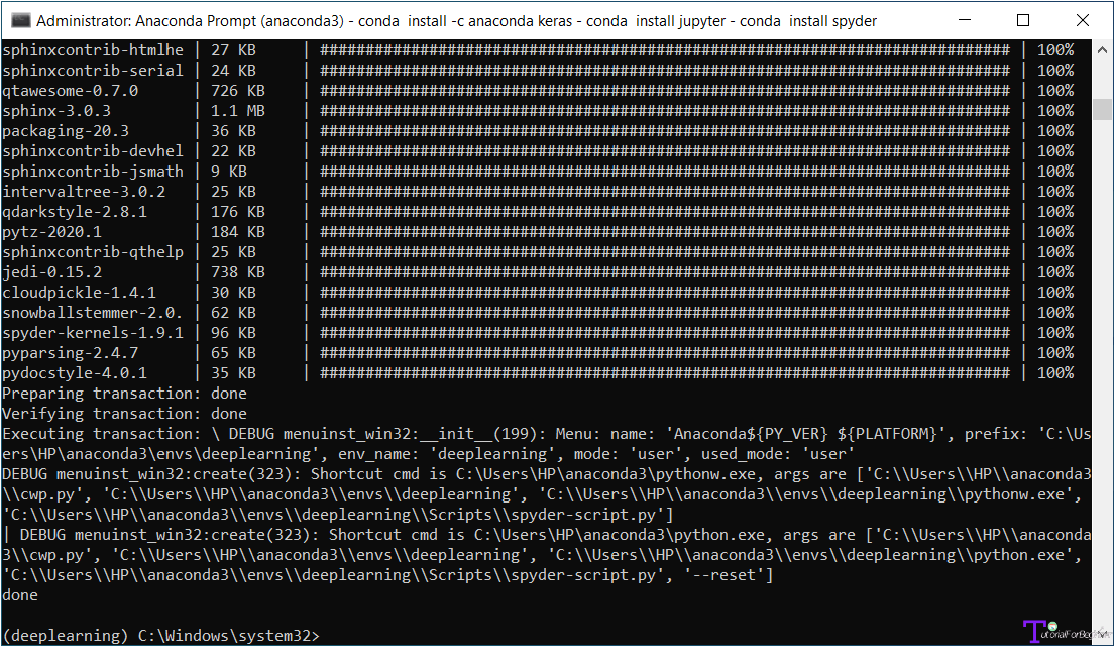
Your installation has been successfully completed, as you can see.
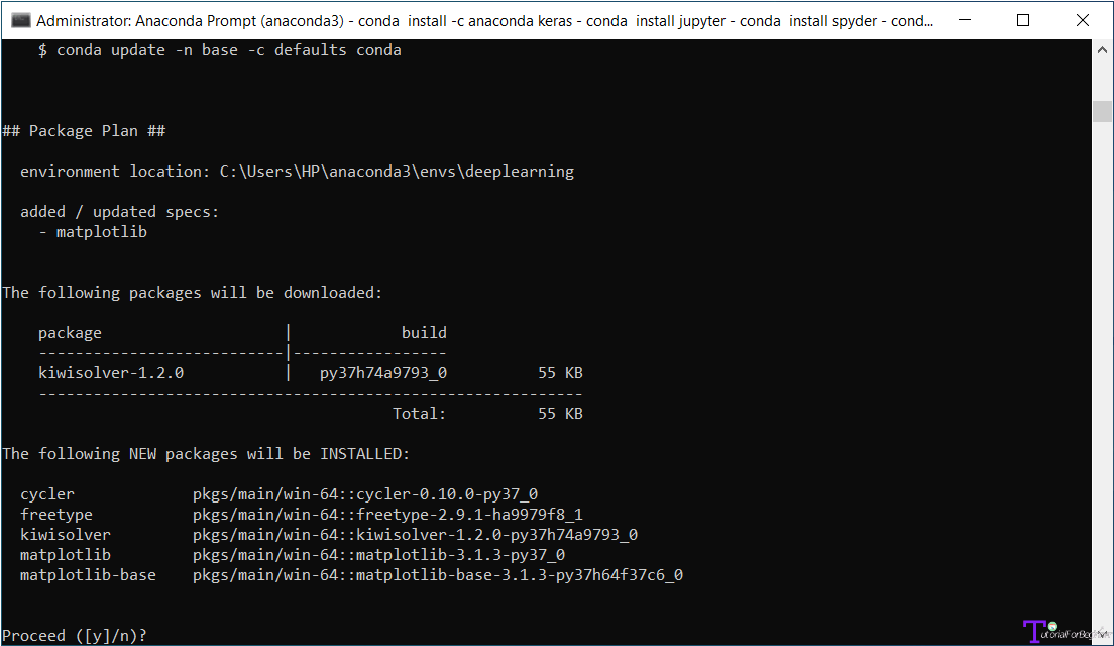
For visualization, you would need to install matplotlib. The same process will be followed once more.
| conda install matplotlib |
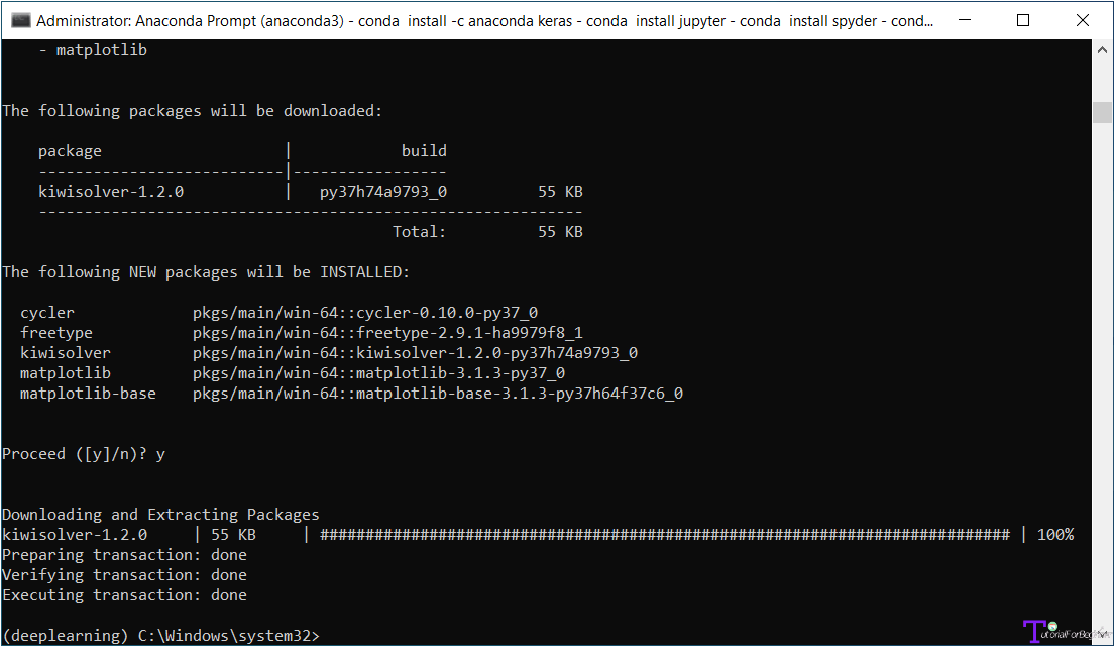
You will be prompted with a y/n choice; select y to continue.
You may verify that matplotlib was successfully installed.
Last but not least, you will install pandas, and this time the process is the same.
| conda install pandas |
Click on y to continue.
You can see that it has been installed successfully from the image up top.